


 Property
  Interior
  Residential
  Commercial


Tile Floor Installation
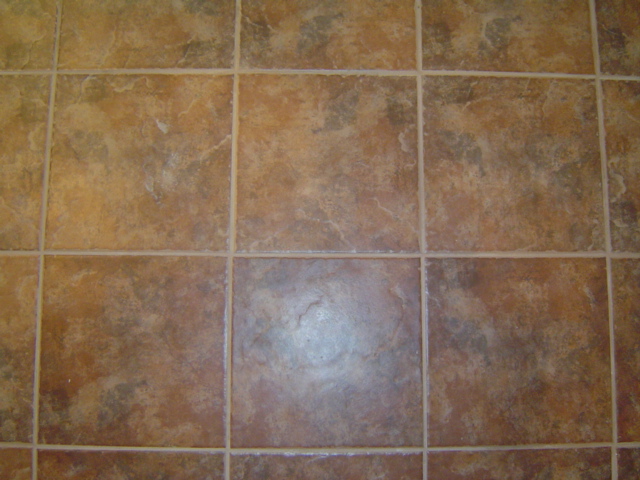
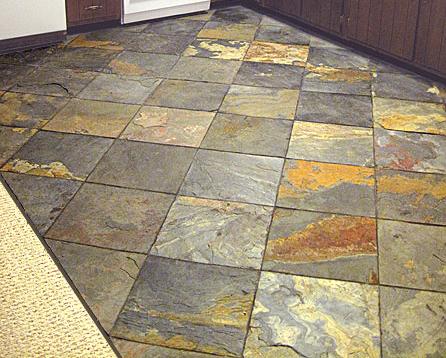
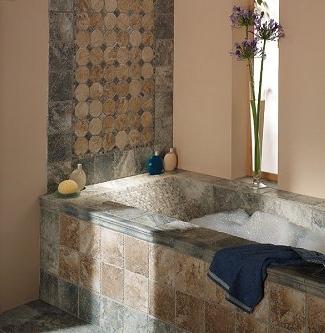
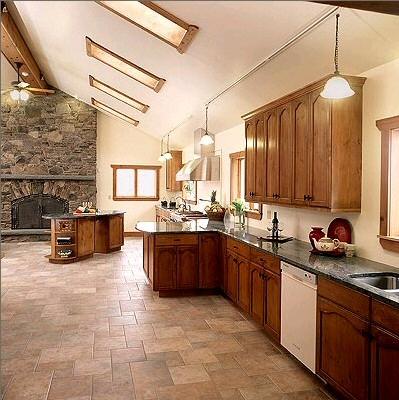
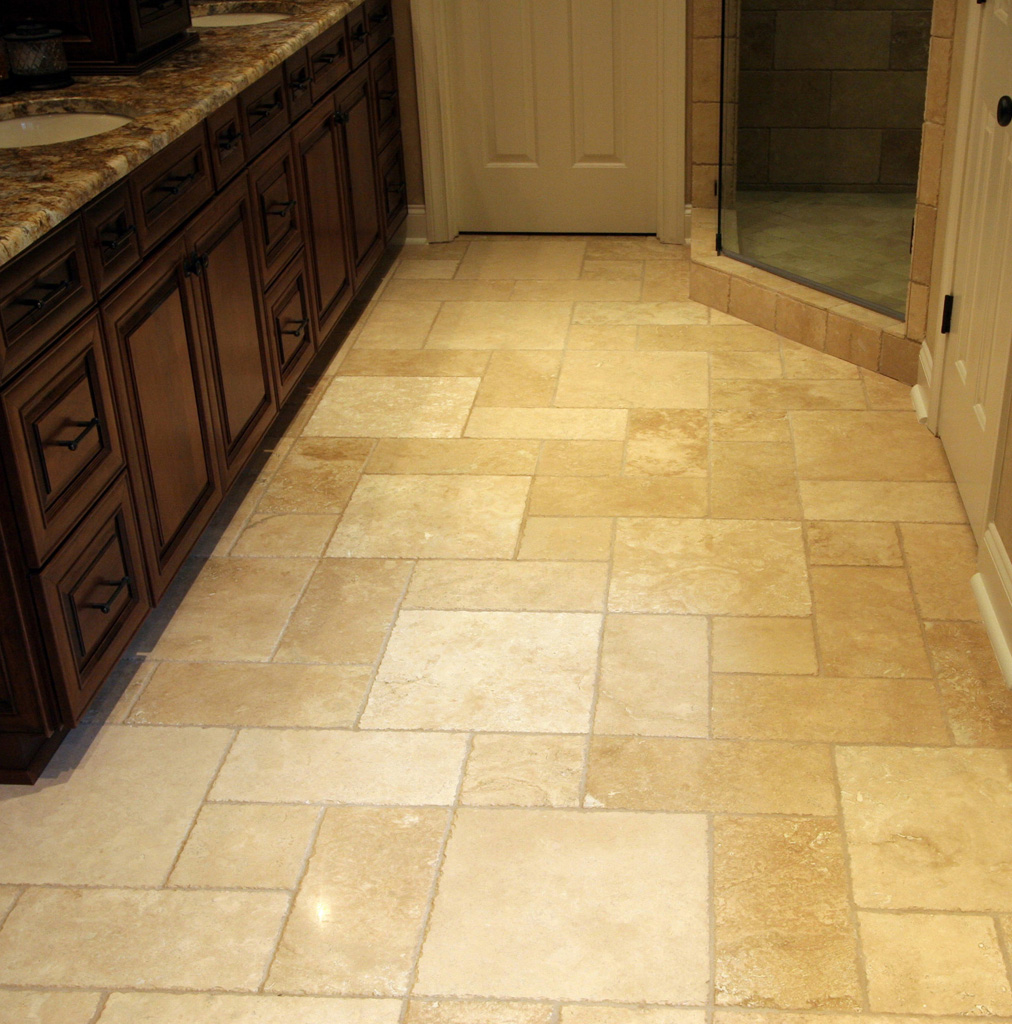
Ceramic tile flooring is a smart choice for any home and you can count on having a durable and beautiful floor for years to come. Ceramic tile flooring has been a popular design choice for thousands of years, and new technology has allowed it to be one of the most versatile flooring choices.
Ceramic tile installation is difficult and exacting work. M&R will not only assist you in selecting your tile, but in planning and executing your installation. We understand how important it is that your new tile flooring is installed properly and in a timely manner. You can count on our trained technicians to ensure that your new floor is professionally installed.
Planning the Installation
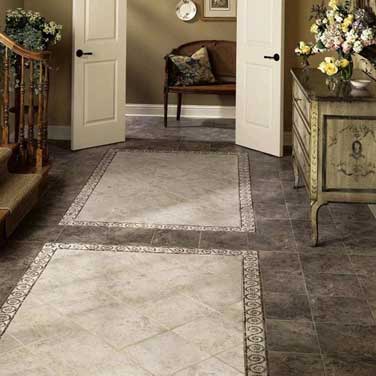
First you need to select the style of ceramic tile floor that is right for your home. You can visit our flooring showroom or arrange for an in-home consultation. We will discuss the installation process with you and develop an installation plan for your home.
Installation Method
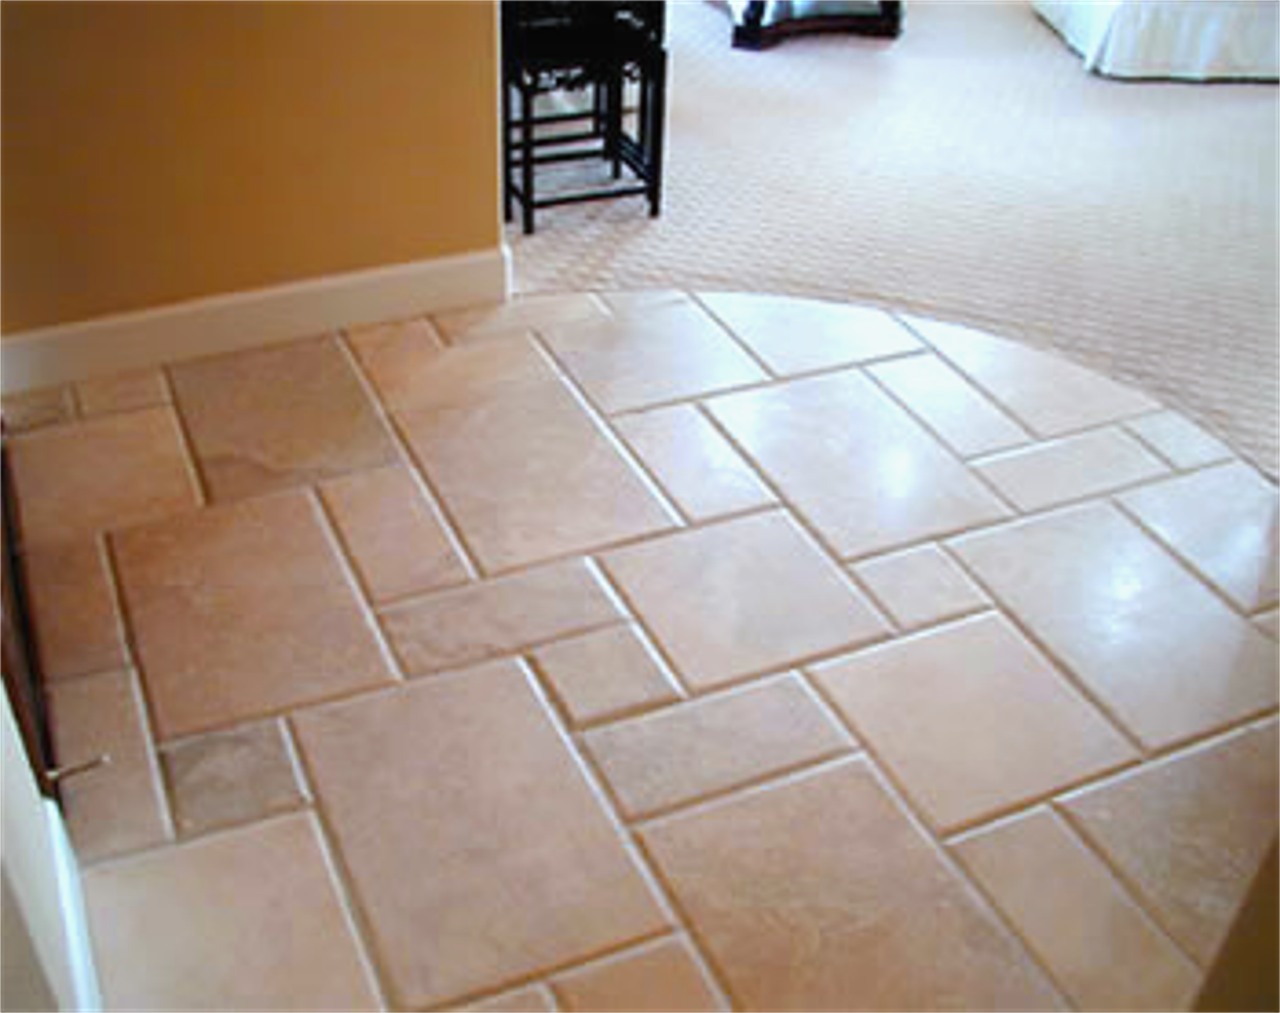
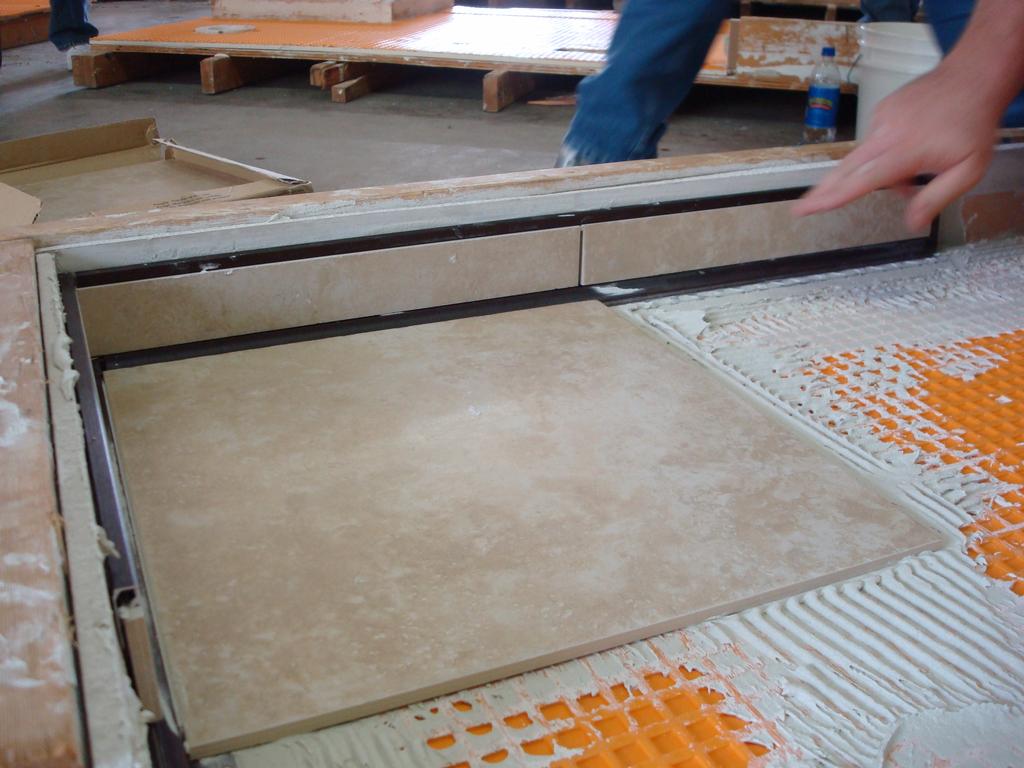
The first step of installation is preparing the substrate on which the tile will be installed. Our expert technicians will clean and prepare the substrate so that oil, dirt and other debris will not impact the installation. This also includes making sure the substrate is even and level so that your new ceramic tile will lie down flatly.
Next, our technicians will employ the “thinset” method of installation, which is recommended by manufacturers and industry experts. This means that a thin layer of mortar is applied first on top of the cement backer unit, or CBU. The purpose of the CBU is to provide a water-repellant layer in between the mortar and tile. Then the tile is cut and the layout is determined. After the mortar and tile have cured for 12-24 hours, the grout is applied. Another 12-24 hours is needed for the grout to cure to ensure that the tiles do not slide or shift. After that, your new floor is ready to be enjoyed!
Installation Steps and Considerations
1. Relocating Furniture
All of the furniture, rugs and plants will need to be moved out of the areas where installation will take place. You can plan for installation by moving all small furniture, plants, and knick-knacks. Dalworth can assist with moving the larger furniture.
2. Removing Old Flooring
Before your new tile floor is installed, we will remove your old flooring, so that just the sub floor is left.
3. Preparing Sub Flooring
Depending on the condition of your sub floor, it may need to be repaired or replaced. If it’s in good shape, the sub floor will be thoroughly cleaned and prepped before installation.
4. Removing Trim
In some cases, trim may be also be removed before floor installation. Dalworth will discuss your options during installation planning.
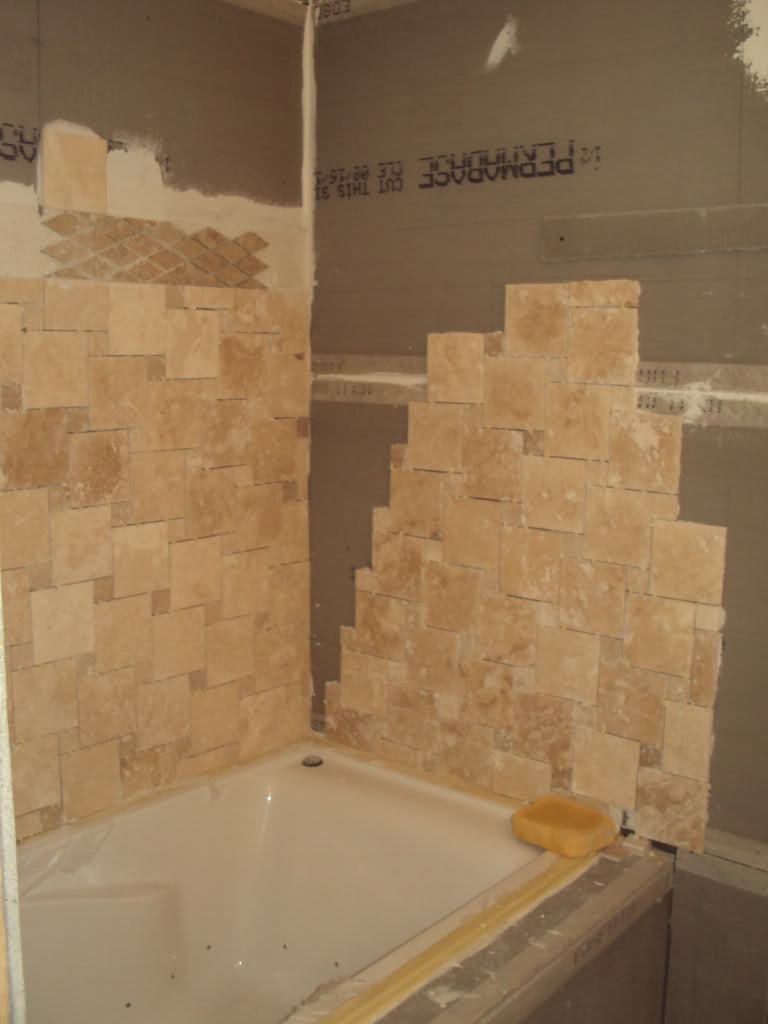
5. Installation
Our technicians are trained experts and will quickly install your new tile floors properly and efficiently. On the day of installation, make sure someone is home in case we have any questions. Our installation uses tools and techniques that can be a danger to little ones and pets, make sure that they are accounted for during the installation.
6. Cleanup
The tile installation is not done until Dalworth completes a thorough cleanup after the job. Dalworth can also arrange for the removal and disposal of your old flooring.
7. Movein
After your ceramic tile flooring has been installed, it’s time to move in and enjoy your new flooring. In order to protect your investment, be sure to read our guidelines for ceramic tile floor care.
