


 Property
  Interior
  Residential
  Commercial


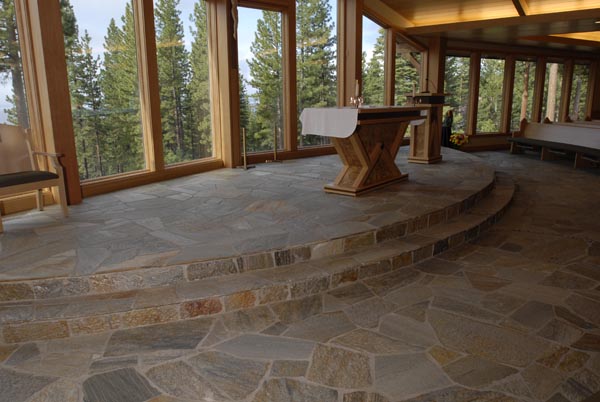


Natural Stone Floor Installation
The installation process for natural stone installation is exacting work and more labor intensive than other types of flooring. It requires the expertise of experienced professionals with a good plan to achieve the desired results - a beautiful natural stone floor. After you have selected your stone floor from our showroom, or in our complimentary in-home consultation, it's time to plan the installation process.
Rely on our trained professionals to ensure that your new natural stone flooring is installed properly, and you'll be rewarded with a beautiful stone floor for many years to come.
Dalworth Stone Floor Installation is:
- Quick - Some stone flooring may take longer than others to install. At Dalworth you can be assured that our technicians will work as efficiently as possible so that your household can get back to normal as soon as possible.
- High Quality - Our technicians aren't just technical - they are trained stone craftsmen, and they won't rest until you're satisfied with your new floors.
Installation Walk Through
You can leave the heavy lifting to our professionals, but a basic understanding of our installation process will better prepare you for installation day. When that big day arrives, plan on being home so that you can make any important decisions that might be necessary.
Installation Steps and Considerations
1. Relocating furniture
All of the furniture, rugs and plants will need to be moved out of the areas where installation will take place. You can plan for installation by moving all small furniture, plants, and knick-knacks. Dalworth can assist with moving the larger furniture.
2. Preparing the sub flooring
Depending on the condition of your sub floor, it may need to be repaired or replaced. If it's in good shape, the sub floor will be thoroughly cleaned and prepped before installation.
3. Removing trim
In some cases, trim may be also be removed before floor installation. Dalworth will discuss your options during installation planning.
4. Laying the stone
Our technicians will carefully measure the area and create an outline for an accurate installation. Using a wet saw with a diamond blade, the tile is cut. After all tiles are cut, installation begins.
5. Grouting
With natural stone floors, small gaps between the stone tiles must be filled in and sanded in a process known as grouting. After the mortar is dry, grout is applied all over the tiled area with a grout float. The remaining grout is removed, leaving your new stone tiles secure.
6. Trim installation
If trim or molding was removed prior to installation it will be replaced after the grout process.
7. Clean up
Your natural stone flooring installation is not done until Dalworth completes a thorough cleanup after the job. Dalworth can also arrange for the removal and disposal of your old flooring.
8. Move In
After your natural stone flooring has been installed, it's time to move in and enjoy your new flooring. In order to protect your investment, be sure to read our guidelines for natural stone floor care.
